
Stage a moment with a group
Describe who appears, what happens and how the shot moves. A concise brief gives you a clear point of comparison when you review the performance, background and timing.
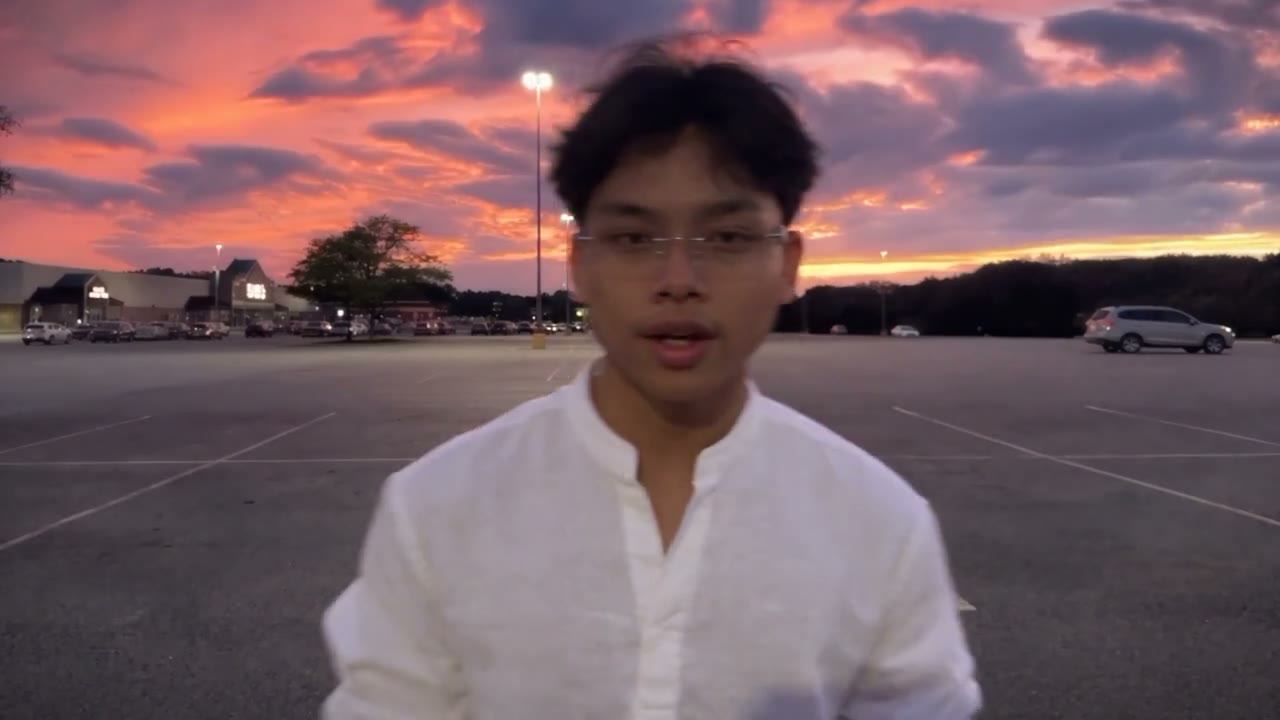
Turn a written idea, image or supported reference into an AI video.
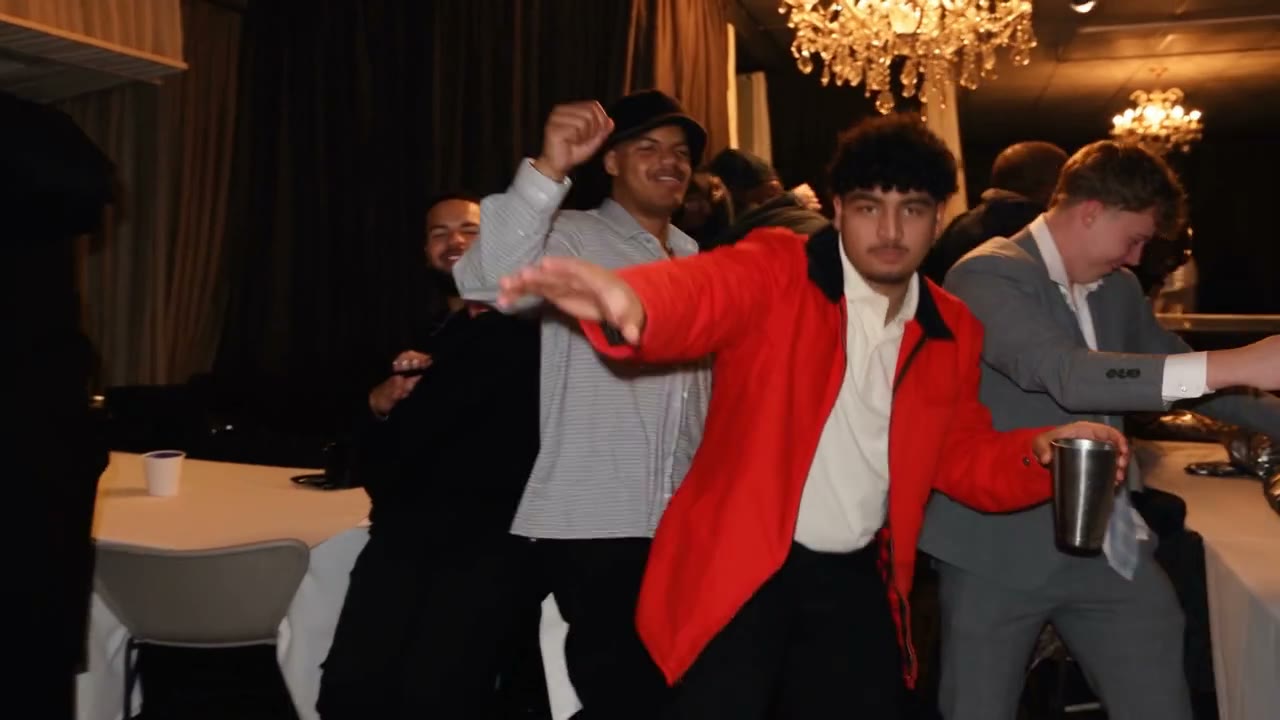
A written scene, a still frame or a supported reference can each lead to a different video. Choose a model to see its inputs and controls, then review the credit estimate. These community clips illustrate ideas and were not generated with Text Match Cut Art.
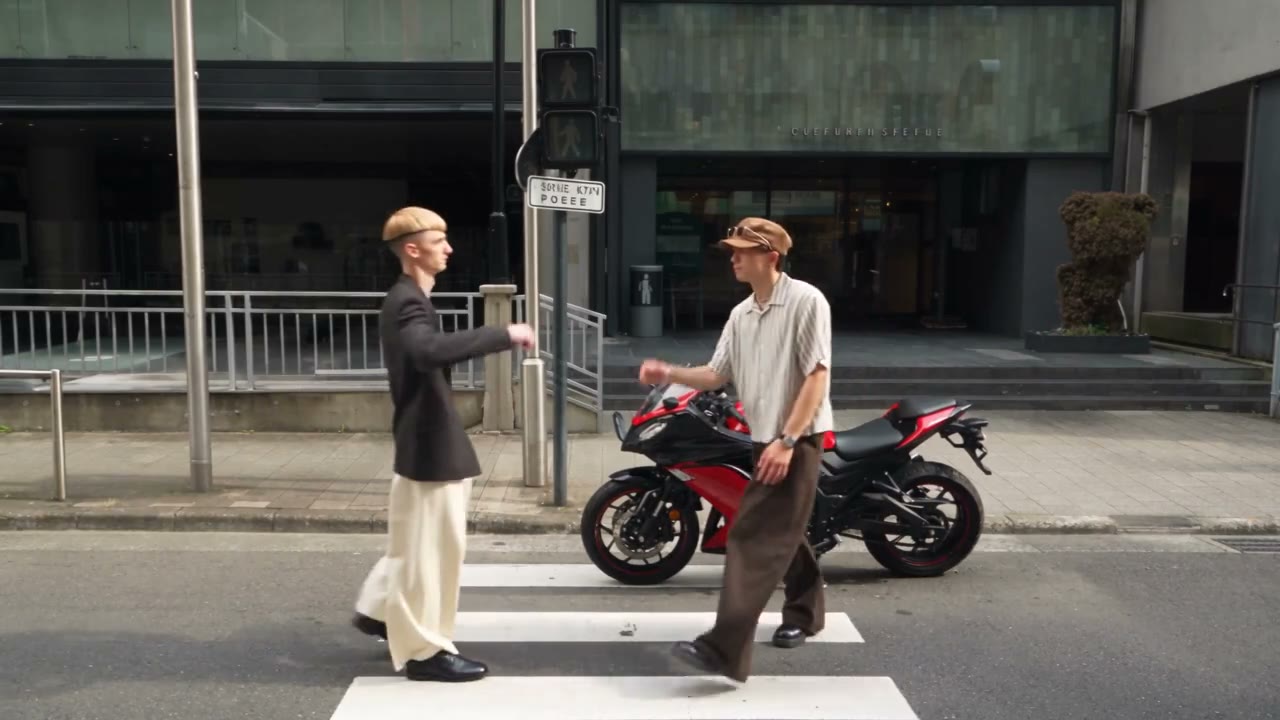
Turn a written idea, image or supported reference into an AI video.
STEP 1
Choose a video model in the workspace.
STEP 2
Provide a prompt or the media supported by the selected mode.
STEP 3
Set the available framing and duration, and review the estimate. Generate the clip, then watch and download the result.
These illustrative AI video clips suggest creative directions. They were not generated with Text Match Cut Art, and results vary by model and inputs.
Describe who appears, what happens and how the shot moves. A concise brief gives you a clear point of comparison when you review the performance, background and timing.
Build a shot around a location or a reference image. Specify where the view begins and how the camera travels, then check the finished clip for changes in the space.
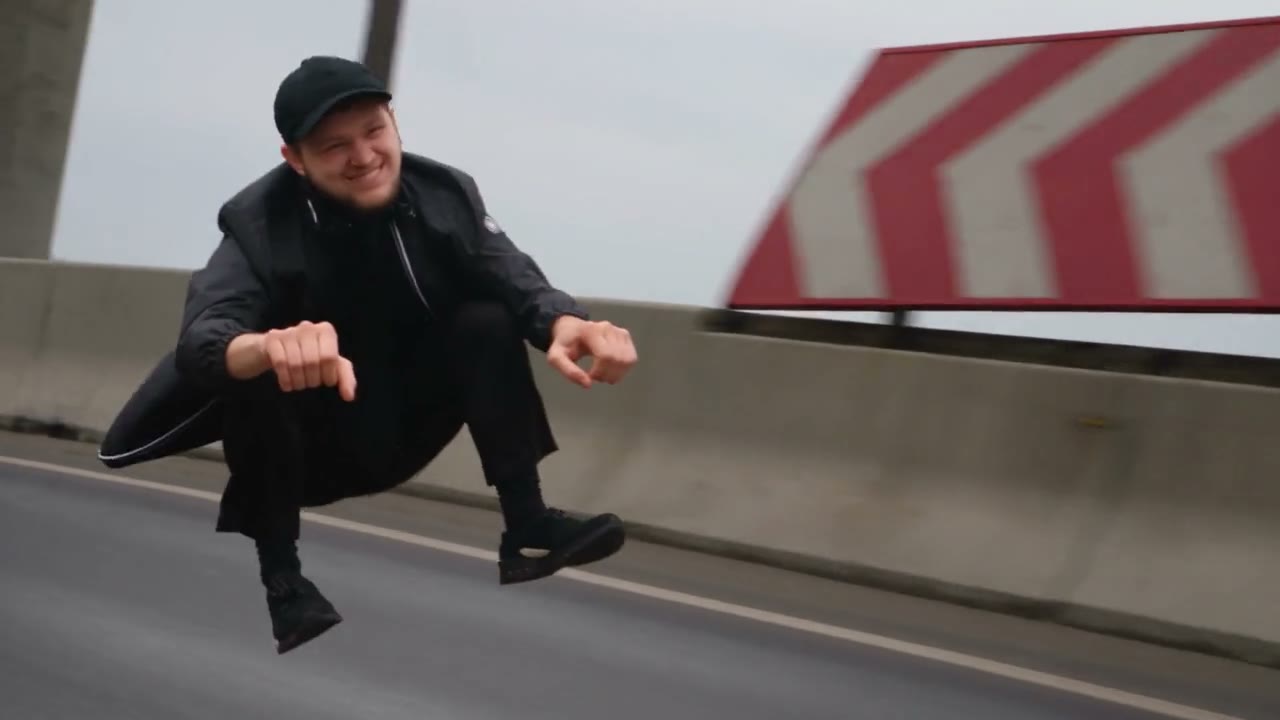
Explore a change of scale or atmosphere as a short visual study. Establish the subject and movement first, then compare variations in light and composition.
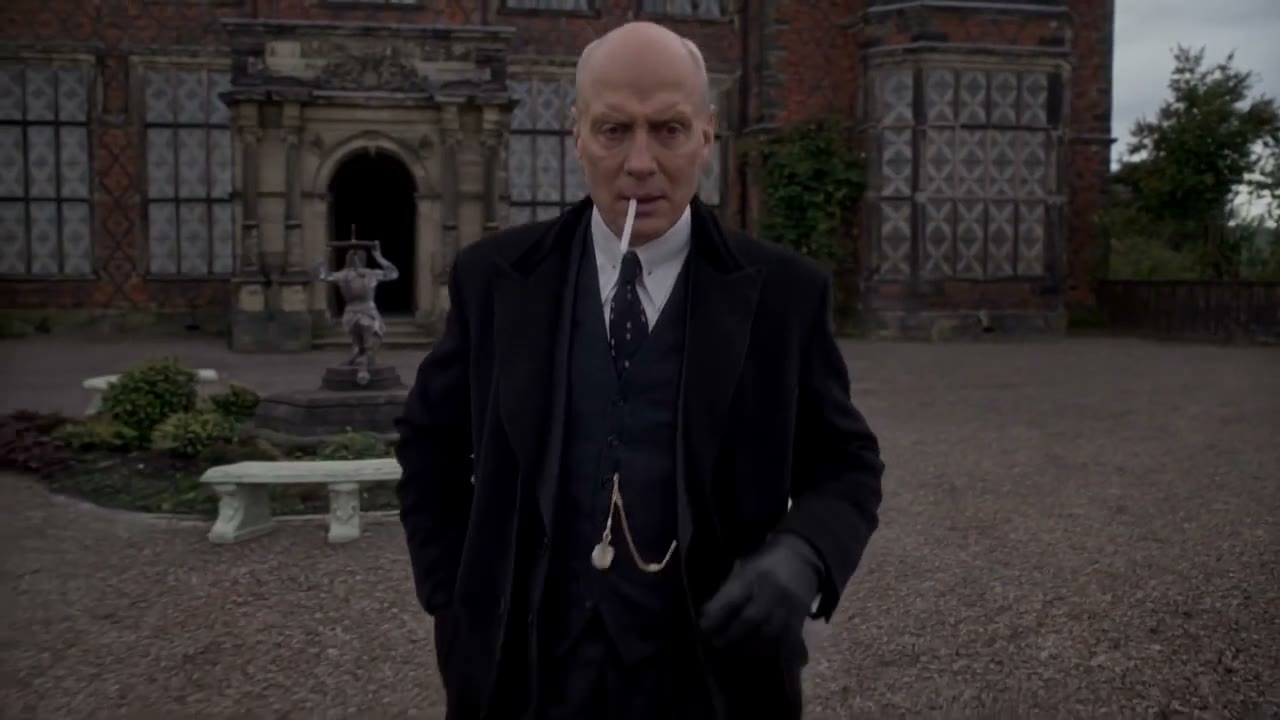
Start with a character description or a supported photo, then describe the action and setting. For a specific performance, preview a motion template and check its requested roles.
Choose the available input and settings that fit your scene before committing credits.
Start with text, a still or supported reference media. The workspace shows the modes available for each model.
Check the credit amount after choosing the model, length, format and other supported options.
Play a completed clip, download it or return to it from your account history.
Choose the input and settings that match the shot you have in mind.
Start from a description, a still image or supported media. Your chosen model determines which inputs are available.
Name the subject and what it does. Add the location and camera movement when those details matter to the shot.
Pick an available ratio and duration for your destination, then review the resolution and credit estimate.
Review the whole clip for continuity and moving details. Change one input at a time when you create another version.
The workspace shows an estimated credit amount for the selected model and settings before you submit. Review the available plans and your balance when you are ready to create.
For your first ideas.
$218.9 charged yearly
10,080 credits/year
Up to 1,680 images
Up to 560 videos
For a steady creative flow.
$410.9 charged yearly
21,600 credits/year
Up to 3,600 images
Up to 1,200 videos
For more creations, more often.
$593.4 charged yearly
43,800 credits/year
Up to 7,300 images
Up to 2,433 videos
Try before you subscribe
Prices in USD; taxes and total shown at checkout. Subscriptions renew automatically; cancel in Billing settings. Subscription credits expire each period; one-time credits never expire.
Refunds: request within 72 hours. Used purchased credits and applicable non-refundable processing costs (up to 6%) are deducted. Terms · Refund Policy
What to know before you create.
The available starting points depend on the selected model. Some accept text or a still image; others support reference video. Select a model first and use the input controls shown in its form.
Name the subject and describe the main action. Add the setting, camera movement or lighting when they affect the shot. Starting with a single clear event makes it easier to see what to adjust in another version.
Choose a model that accepts an image and upload a reference showing the details you want visible. A full-body action benefits from a wider image; for a close-up, a clear face and upper body may be more relevant.
A compatible reference-video mode can use a motion clip. You can also browse the trends collection, preview a prepared scene and load its photo roles into the workspace.
The options depend on the model. Choose from the settings shown in the form for the screen where you intend to use the clip. Review the estimate again after changing the length or resolution.
Audio support depends on the model and template. Inspect the available sound controls before generation and listen to the completed result. Check permissions for any soundtrack you intend to publish.
The form displays an estimate for the current model and selected settings. Sign in to submit a generation and check your balance. Another attempt can use additional credits.
Examples show possible creative directions. Your result depends on the supplied media, prompt, model and settings; movement can change faces, hands or the background. Watch the full clip before choosing a version.
Open My creations in the workspace or visit your account history to review completed results and use the available download actions.